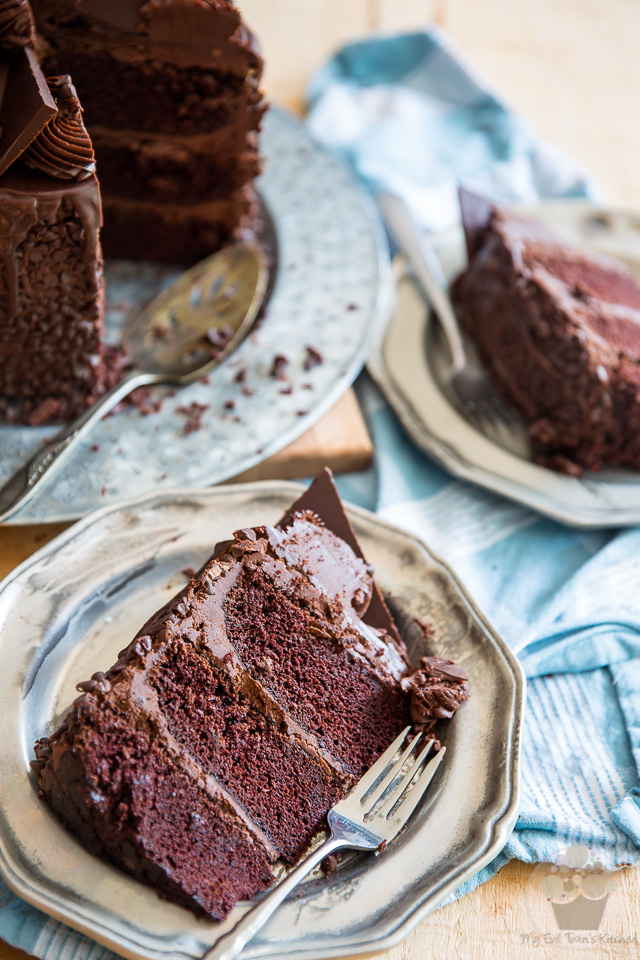
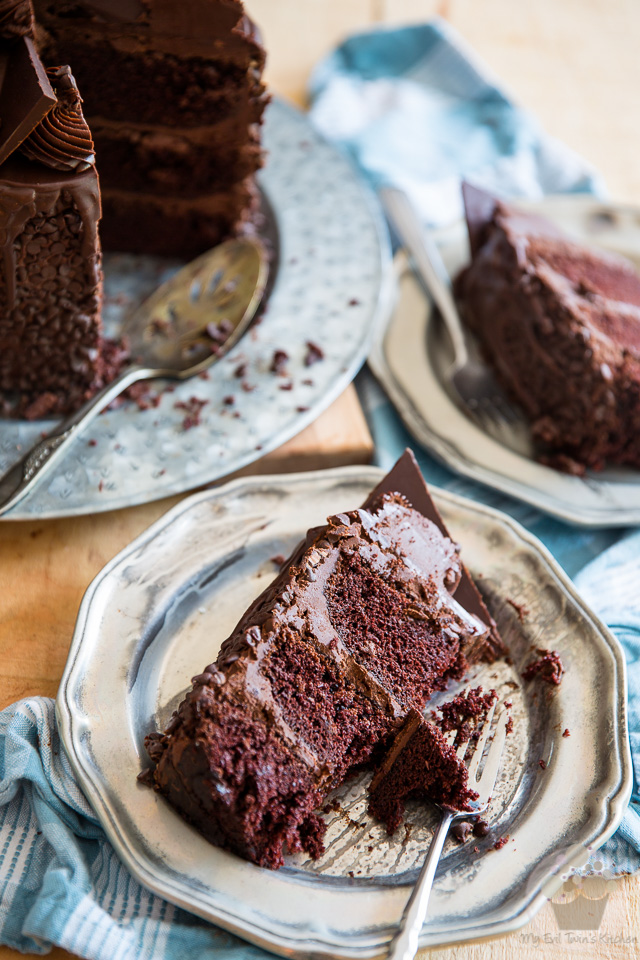
Iam tellng you, if there was one dessert in this world that could actually cause “death by chocolate”, this would be it right here!ou’re looking at three layers of the moistest, tastiest Devil’s Food Chocolate Cake, generously covered in the fudgiest Chocolate Fudge Frosting ever, garnished with a liberal amount of totally adorable mini-chocolate chips, and topped with layer upon layer of cascading ripples of smooth and silky dark chocolate ganache.
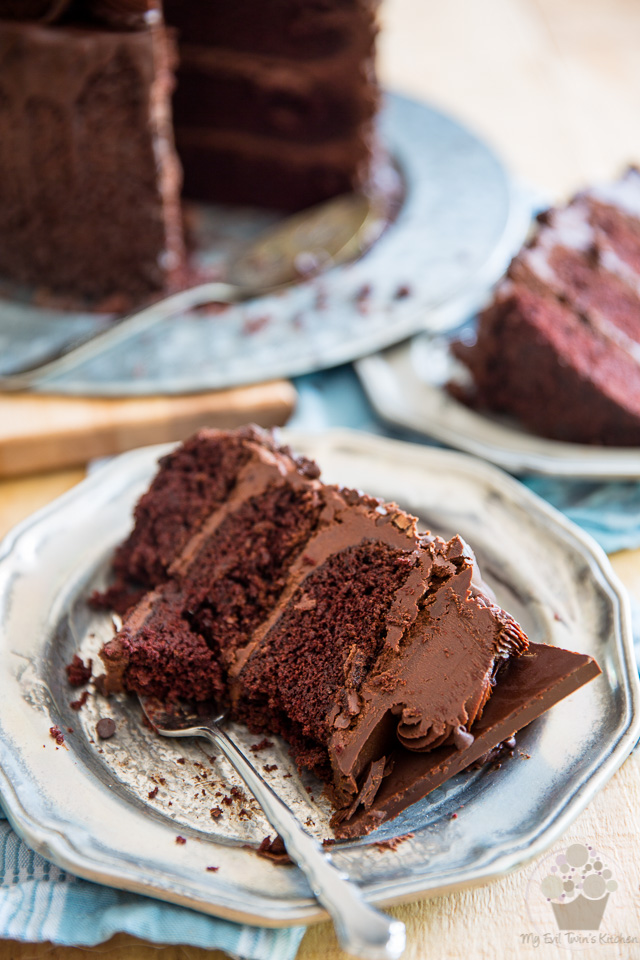
Got a chocolate lover in your life that you’d like to please, surprise, bribe, or coax into asking you to marry them? Make this for them. They’ll be pure putty in your hands.icked Windmill Chocolate Cake
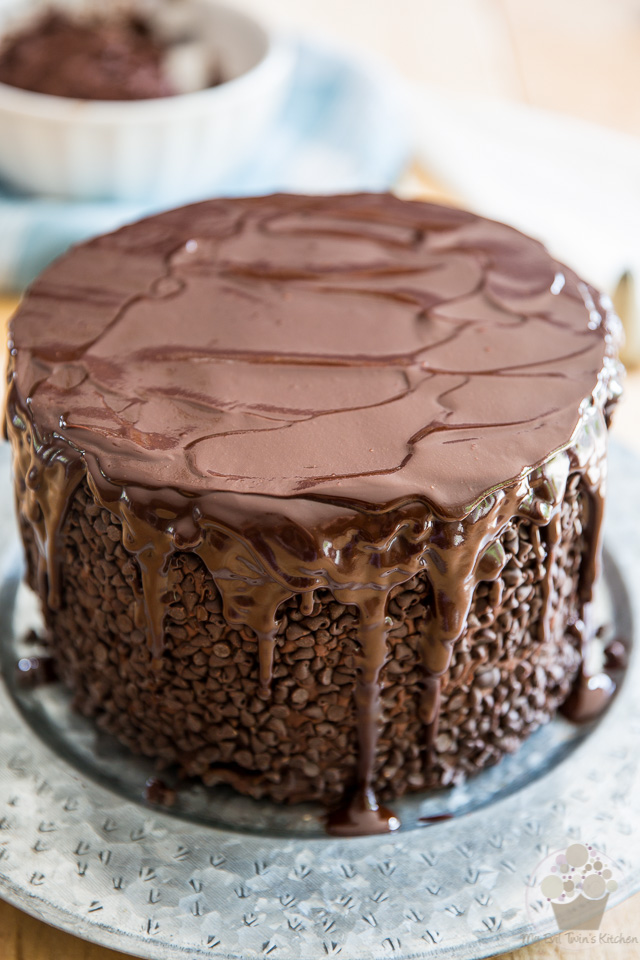
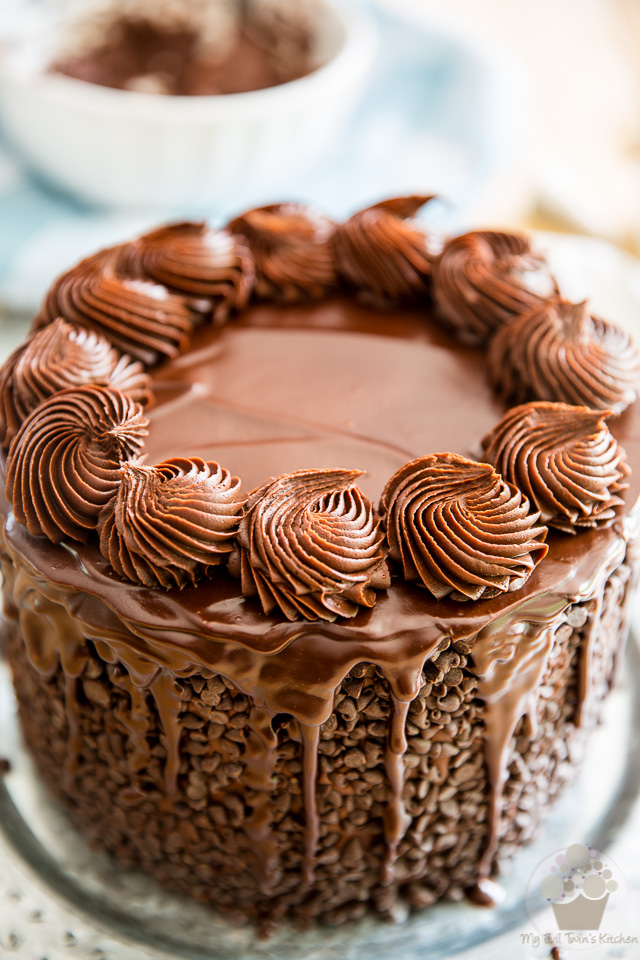
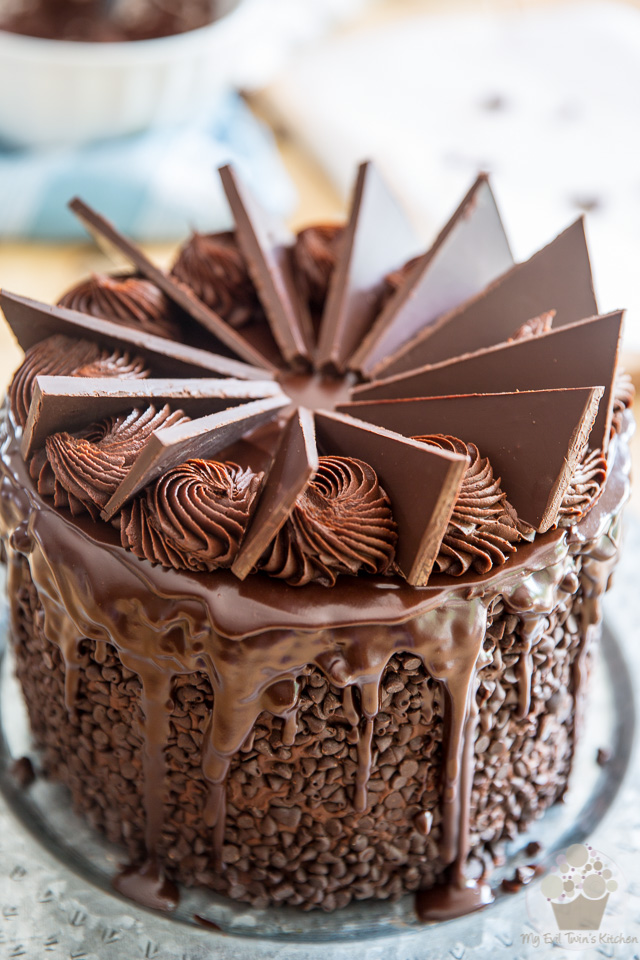
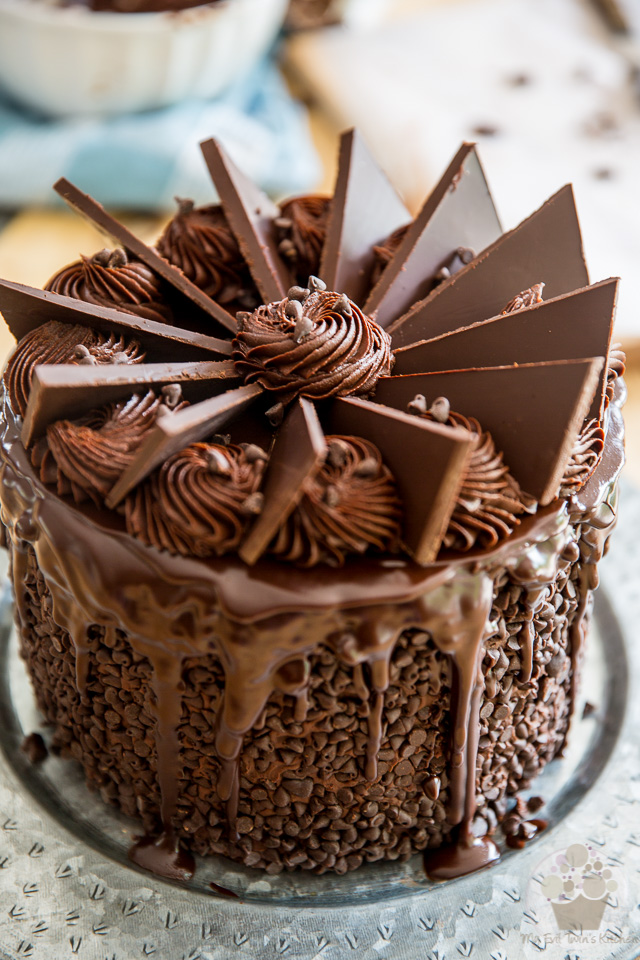
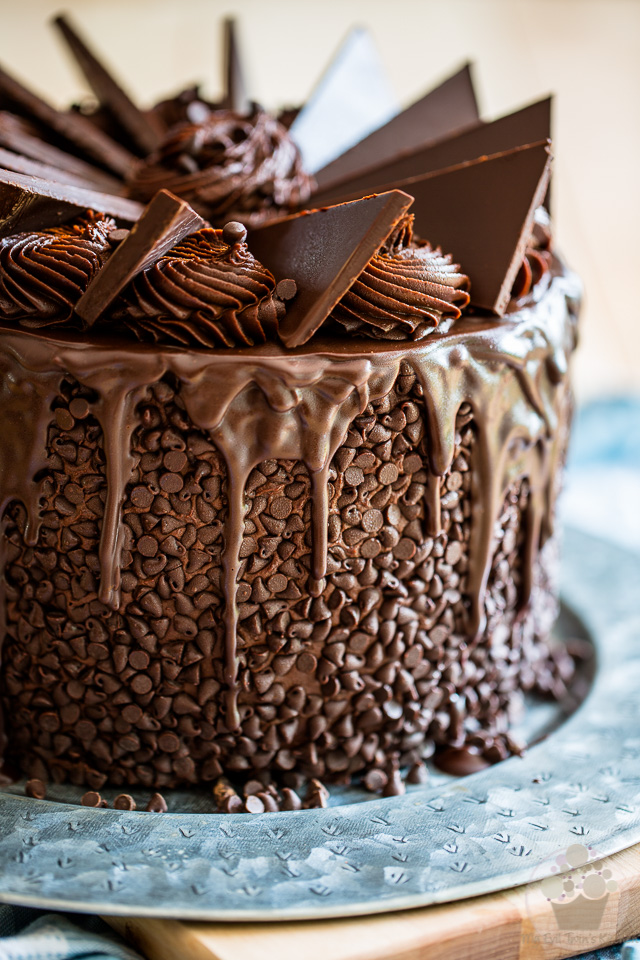
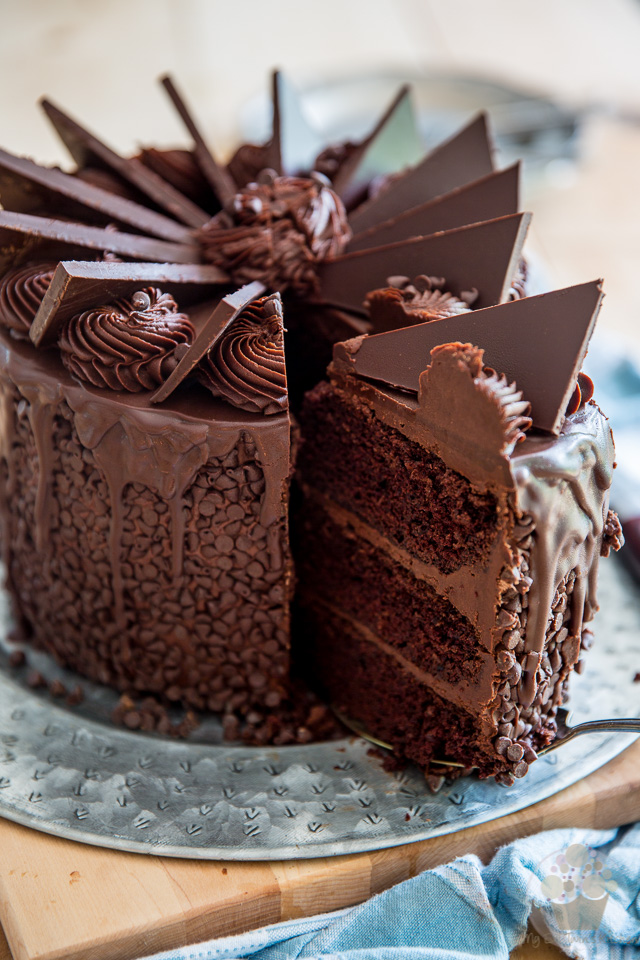
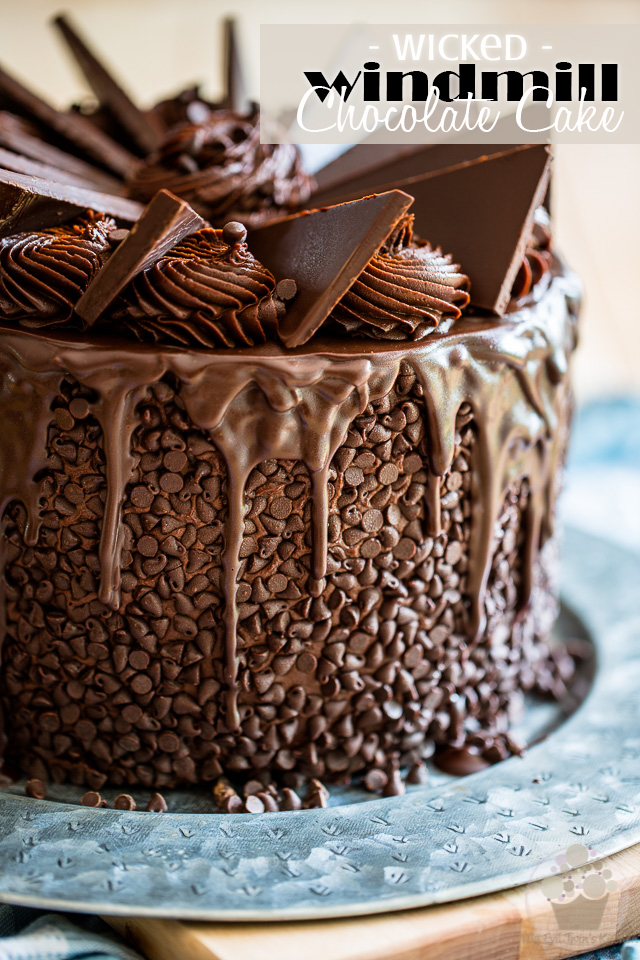
And as if all this wasn’t enough, the cake then gets topped off with thick triangles of satiny, melt-in-your-mouth dark chocolate, carefully positioned to mimic the blades of a windmill; hence the name: Wicked Windmill Chocolate Cake!

This cake is, without the shadow of a doubt, a true stunner, one of those cakes that you want to save for those special occasions, you know.
Ingredients
- 1- Devil's Food Cake Recipe
- 1- Chocolate Fudge Frosting Recipe
- 2 cups ( 360g | 12.7oz) mini-chocolate chips
- 2 cups (300g | 10.6oz) finely chopped semi-sweet chocolate
- 3/4 cup (180ml) heavy cream
- 1/4 cup (60g | 2.1oz) butter, softened
- 2 cups (300g | 10.6oz) finely chopped semi-sweet chocolate
- 1 tbsp peanut oil
FOR THE CAKE
FOR THE FROSTING
TO COVER THE SIDES
FOR THE CHOCOLATE GANACHE TOPPING
FOR THE WINDMILL BLADES
Instructions
- Make the Devil's Food Cake and Chocolate Fudge Frosting following the instructions in the posts.
- Place one of the cakes flat side up on a piece of cardboard that's exactly the same size as the cake. While this precaution isn't absolutely mandatory, it will greatly help support your cake later when you need to hold it in one hand to cover the sides in chocolate chips.
- Using an offset spatula cover that cake with a generous layer of frosting, then repeat with the remaining two layers. Crumb coat the entire cake with a thin layer of icing, making certain that you completely fill the cracks between the layers as you go.
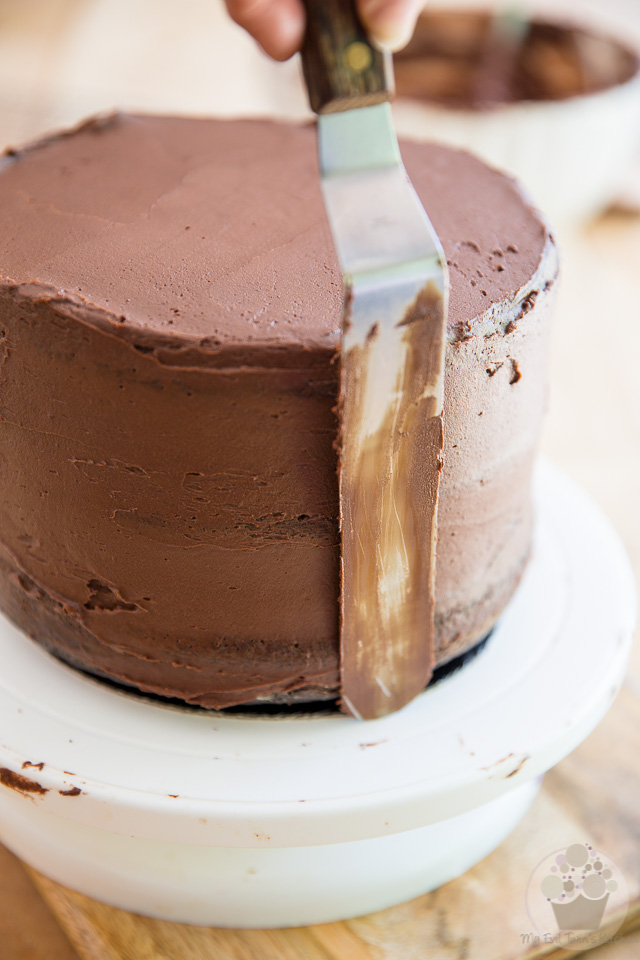
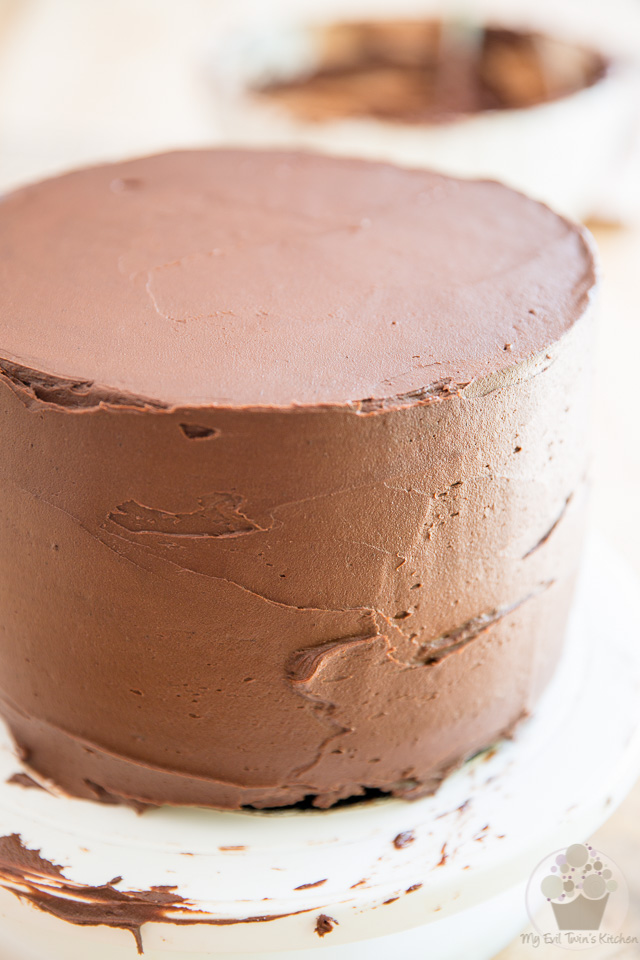
- Then, go back and cover your entire cake with a fairly generous amount of frosting, smoothing the sides and top as best you can.
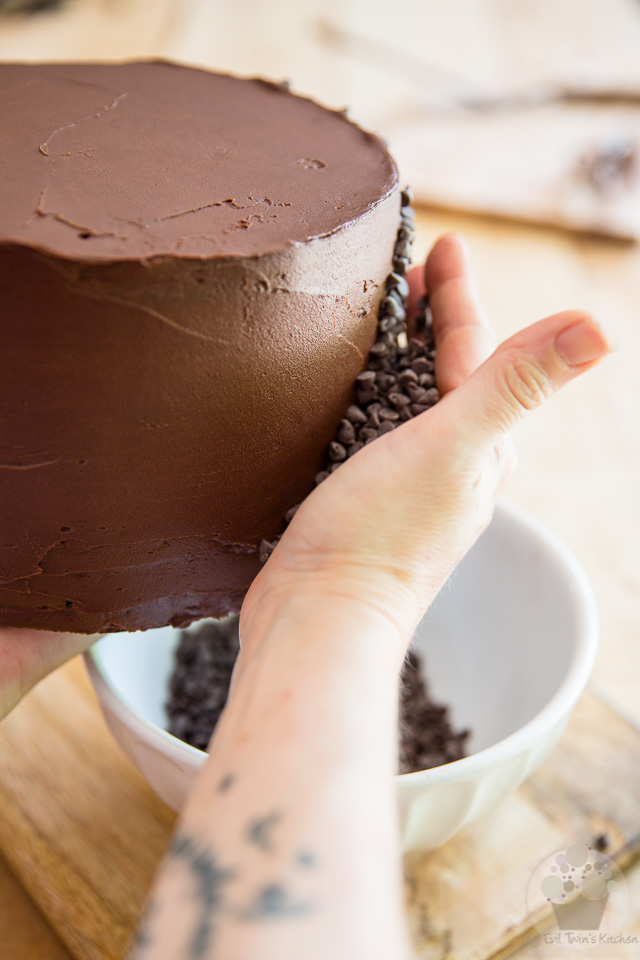
- Now to cover the side of the cake with mini-chocolate chips: hold the cake in your non-working hand and, with your other hand, press the mini-chocolate chips against the cake. Work over a large bowl to catch the chocolate chips that won't adhere to the cake.
- Place the cake in the refrigerator to chill for at least 1 hour.
- Meanwhile, make the windmill blades: place the chocolate and peanut oil in the microwave, and melt it in 30 second bouts, stirring well between each round, until completely melted. Don't allow the chocolate to become hot.
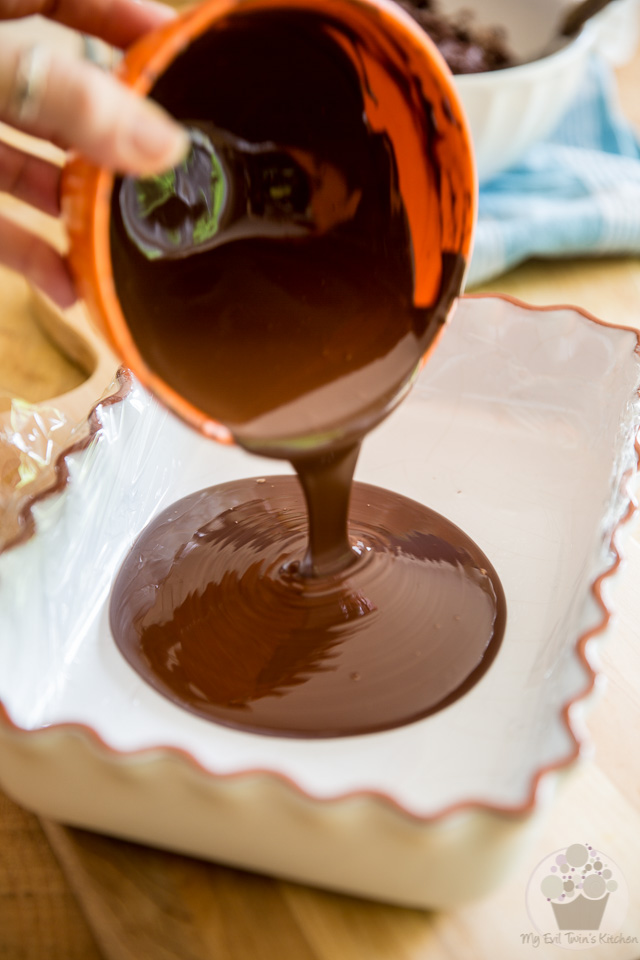
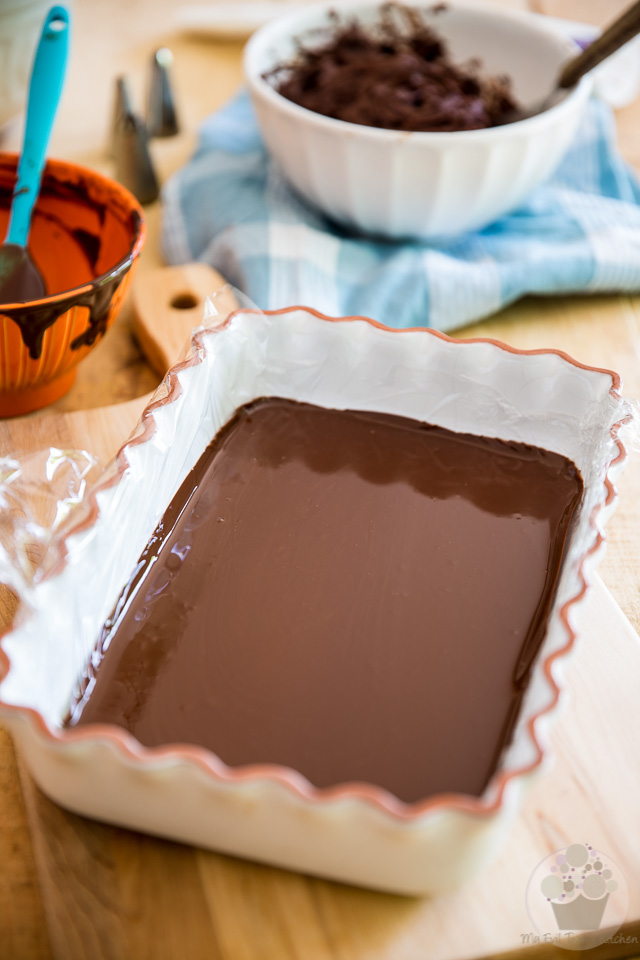
- Line a small baking dish or sheet of roughly 7" x 9" with plastic film, trying to keep wrinkles at a minimum; pour the melted chocolate in the pan and delicately tilt it from side to side and give it a little shake to spread the chocolate in an even layer at the bottom of the pan. Place in the refrigerator until the chocolate is completely set, about 30 minutes. You will know that the chocolate is ready when the top is no longer shiny.
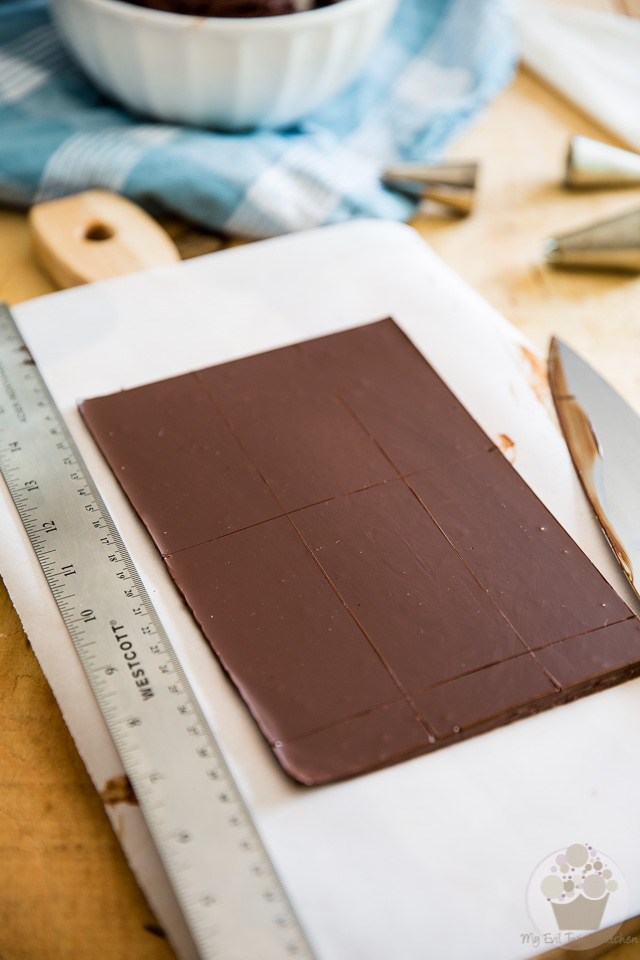
- Once set, lift the chocolate plate from the pan; remove the plastic film and place it on a cutting board. With a sharp chef knife, cut it into a 6" x 8" rectangle, and then cut this rectangle into six 2" x 4" smaller rectangles. Now cut each individual rectangle into 2 identical right triangles. You should now have 12 chocolate triangles. Send them to the freezer for at least 15 minutes.
- Now, make the chocolate ganache: In a mixing bowl, combine the chopped chocolate, heavy cream and butter and place that in the microwave for 1 minute. Allow to rest for 1 full minute and then stir for 1 minute. If there are still lumps of unmelted chocolate left after that, repeat the process but for 30 seconds this time, and continue doing that until the chocolate is completely melted and the ganache is fully combined without feeling hot to the touch.
- Take your cake out of the fridge and pour about 1/4 of the ganache over the top. Spread it delicately all the way to the edge, pushing it slightly past the edge to create little drizzle down the sides of the cake. Repeat the process with the rest of the ganache, using about the same amount each time. You should need to make 4 to 5 passes total. Send the cake to the fridge until the ganache is set, about 15 minutes.
- Equip a 16-inch pastry bag with a large French star tip (I used an Ateco #868) and fill it with chocolate frosting. Pipe 12 large rosettes around the top of the cake and then carefully position a triangle of chocolate between each rosette, right angle facing out, to mimic the blades of a windmill. Trim the little pointy end of the triangles if you have to.
- Pipe a final rosette in the center of the cake and garnish with a handful of mini-chocolate chips, if desired.
- Store in the refrigerator for up to 10 days.
- Serve at room temperature (take the cake out of the fridge 2 to 4 hours prior to serving)
STEP-BY-STEP INSTRUCTIONS AND PICTURES
If you haven’t done that already, you’re gonna have to make a Devil’s Food Cake and a batch of Chocolate Fudge Frosting, following the instructions in the respective posts.
Once you’ve done that, come back here and learn how to assemble this beauty!

You all good and ready to go now? Alright! Let’s get started!
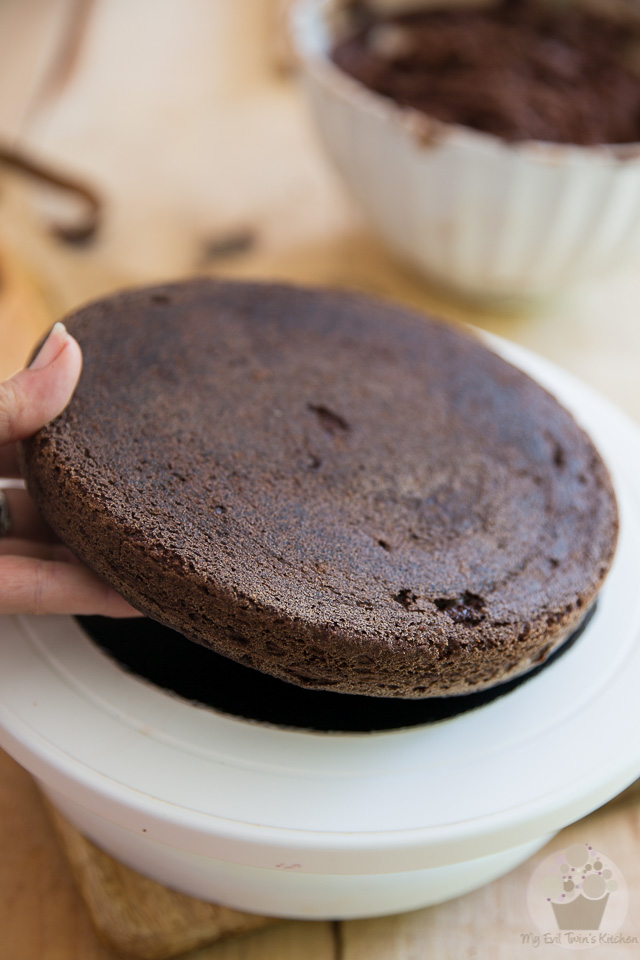
thing you should do is place one of the chilled cakes flat side up on a piece of cardboard that’s exactly the same size as the cake, or slightly smaller.
While this precaution isn’t absolutely mandatory, I strongly recommend that you do it. You will need to pick up your cake and hold it in one hand later, to cover the sides with mini-chocolate chips. The cardboard will ensure that your cake remains in one piece when you lift it up.

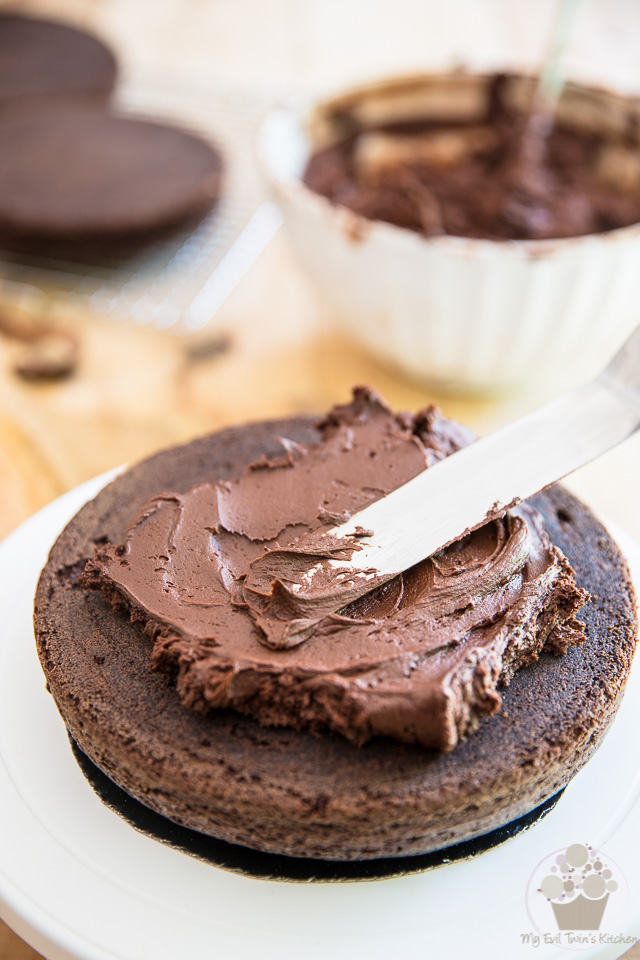
Using an offset spatula, cover that cake with a generous amount of frosting…

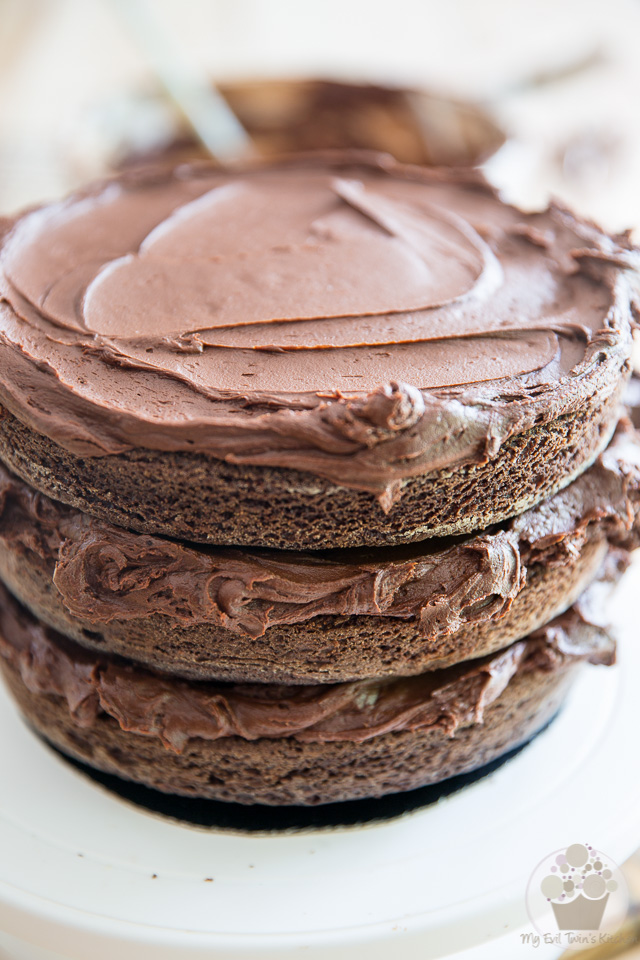
…then repeat with the remaining two layers.

Crumb coat the entire cake with a thin layer of icing, making certain that you completely fill the cracks between the layers as you go.

Then, go back and cover your entire cake with a fairly generous amount of frosting, smoothing the sides and top as best you can.crazy with the smoothing part, though. While you want your cake to look nice and straight, the frosting will eventually get completely hidden, so it doesn’t need to be absolutely flawless…

It’s now time to cover the side of the cake with mini-chocolate chips. This is when you want to pick your cake up and hold it in your non-working hand. Then, with your other hand, press the mini-chocolate chips against the side of the cake.Make sure to work over a large bowl to catch the chocolate chips that don’t adhere to the cake.

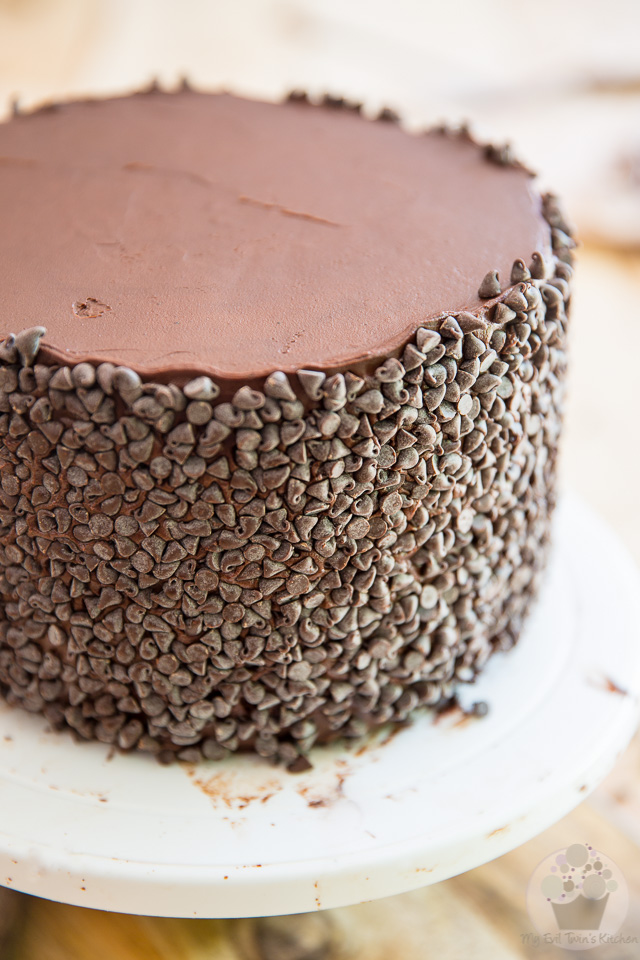
Once the side is completely covered in chocolate chips, place the cake in the refrigerator to chill for at least 1 hour.

MEANWHILE, MAKE THE WINDMILL BLADES
Place the chocolate and peanut oil in the microwave, and melt it in 30 second bouts, stirring well between each round, until completely melted. Don’t allow the chocolate to become hot.
Line a rectangle baking dish or container that’s roughly 7″ x 9″ with plastic film, trying to keep wrinkles at a minimum…

Pour the melted chocolate in the pan and delicately tilt it from side to side and give it a little shake to spread the chocolate in an even layer at the bottom of the pan.
It’s important that you use a dish that’s neither too small nor too big. To make the blades, you will need to cut out a rectangle of exactly 6″ x 8″, so if you use a dish that’s smaller than that, your blades will end up being too small, and if you use a dish that’s much larger than that, your blades would end up being too thin…
Now, if you couldn’t find a suitable dish in your kitchen, by all means get a hold of me: I’ll help you find a solution. We’re not gonna let such a small obstacle get in the way of your creating this masterpiece!

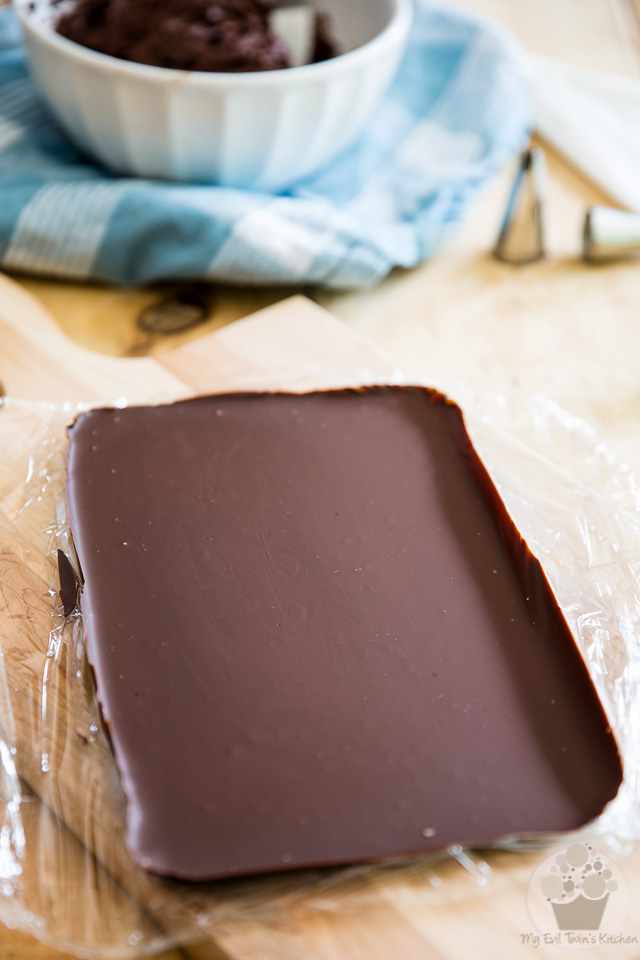
Place your chocolate in the refrigerator until it’s completely set, about 30 minutes. You will know that it’s ready to go when the top is no longer shiny; don’t let it get too hard, otherwise it’ll be harder to cut.
Once the chocolate is set, lift it from the pan by carefully pulling on the plastic film.

Place the chocolate plate on a cutting board (you might want to line it with a piece of parchment paper) and then, with a sharp chef knife, cut it into an exactly 6″ x 8″ rectangle.
Cut your 6″ x 8″ rectangle into six 2″ x 4″ smaller rectangles.
These measurements need to be PRECISE, so yes, you must get your ruler out!

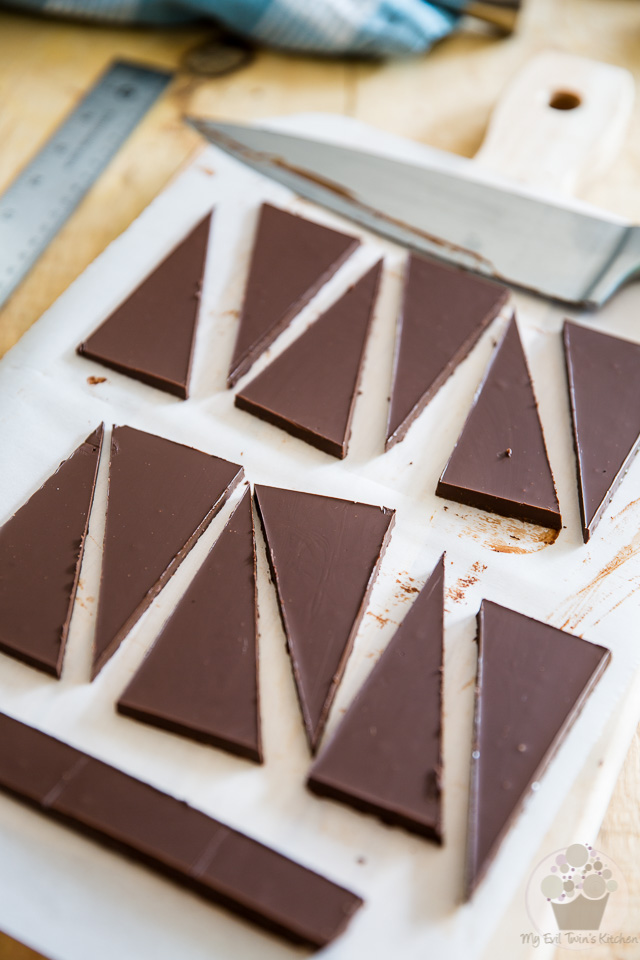
Now cut each individual 2″ x 4″ rectangle into 2 identical right triangles, cutting from one corner to its opposite corner.
You should now have 12 chocolate triangles. Send them to the freezer for at least 15 minutes.

NOW, MAKE THE CHOCOLATE GANACHE
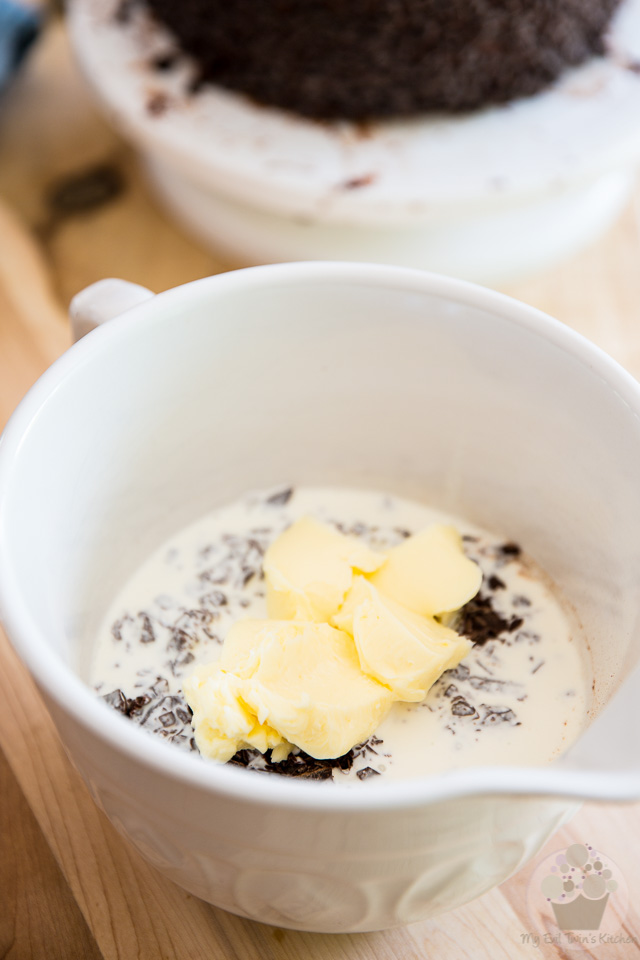
In a mixing bowl, combine the chopped chocolate, heavy cream and butter and place that in the microwave for 1 minute. Allow to rest for 1 full minute and then stir for 1 minute.

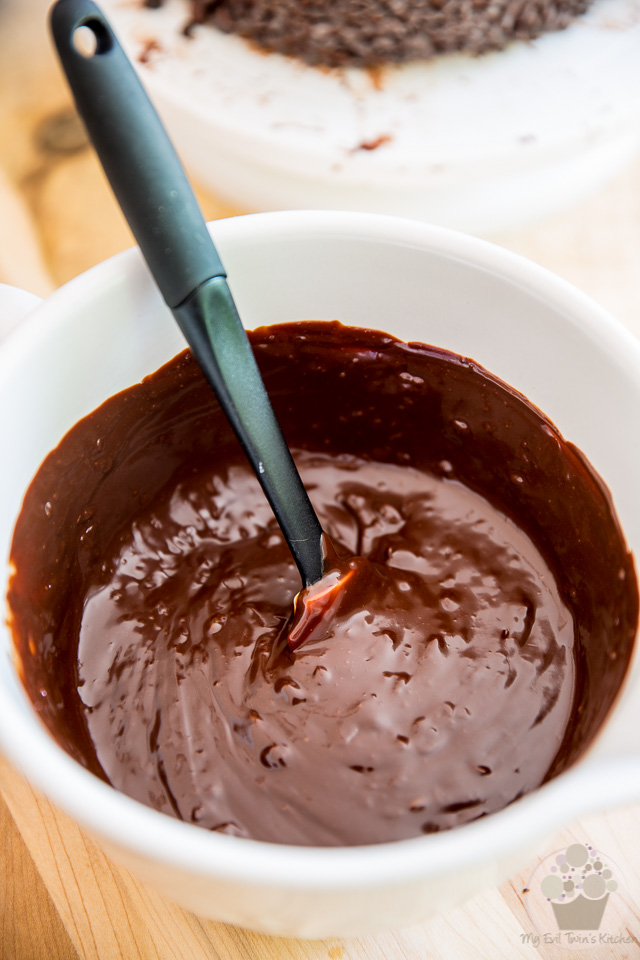
If there are still lumps of unmelted chocolate left after that, repeat the process but for 30 seconds this time…

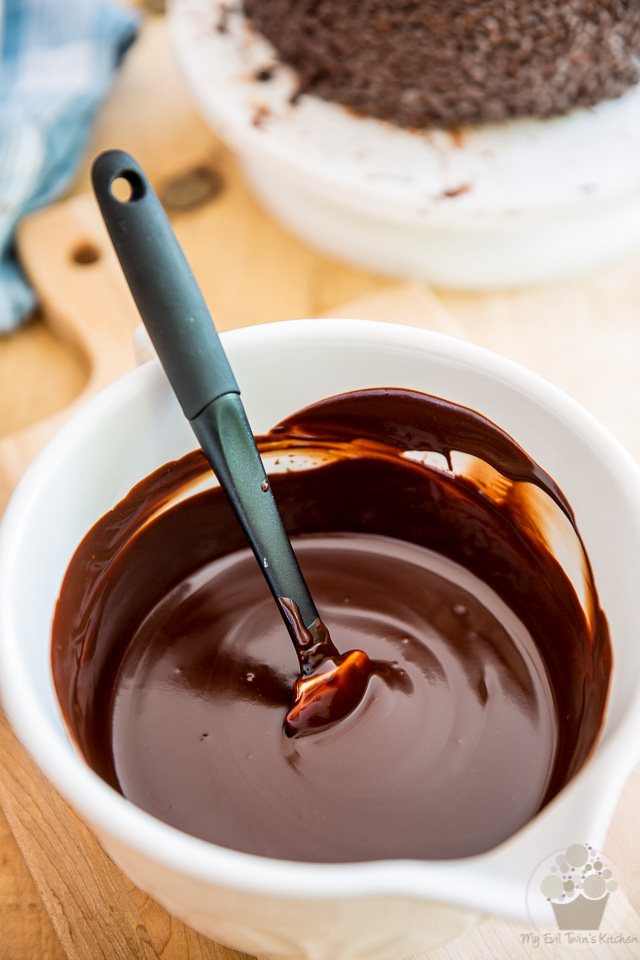
Continue doing that until the chocolate is completely melted and the ganache is fully combined without feeling hot to the touch.

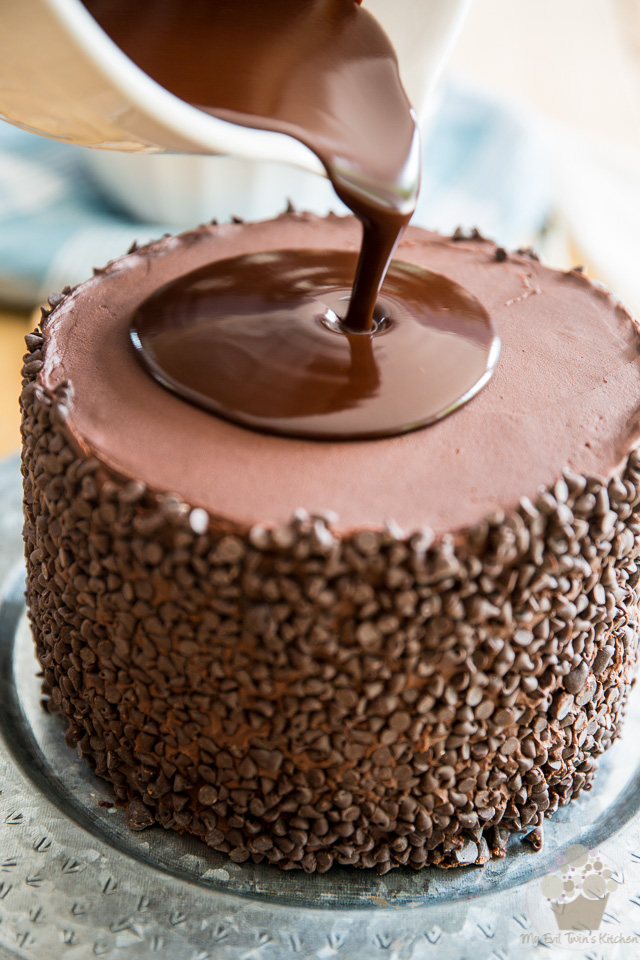
Take your cake out of the fridge and pour about 1/4 of the ganache over the top.

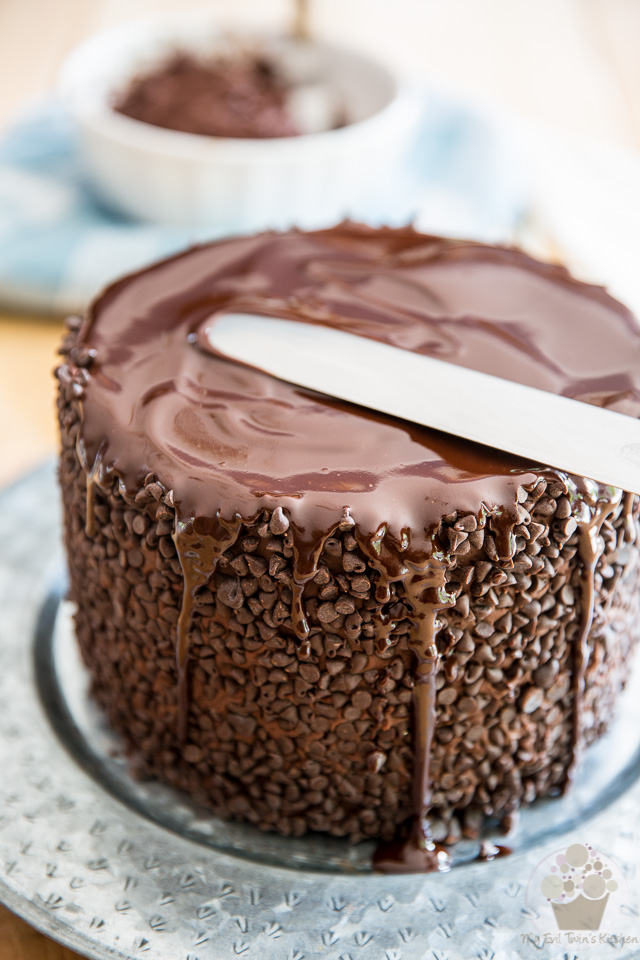
Spread it delicately all the way to the edge, pushing it slightly past the edge to create little drizzles down the sides of the cake.

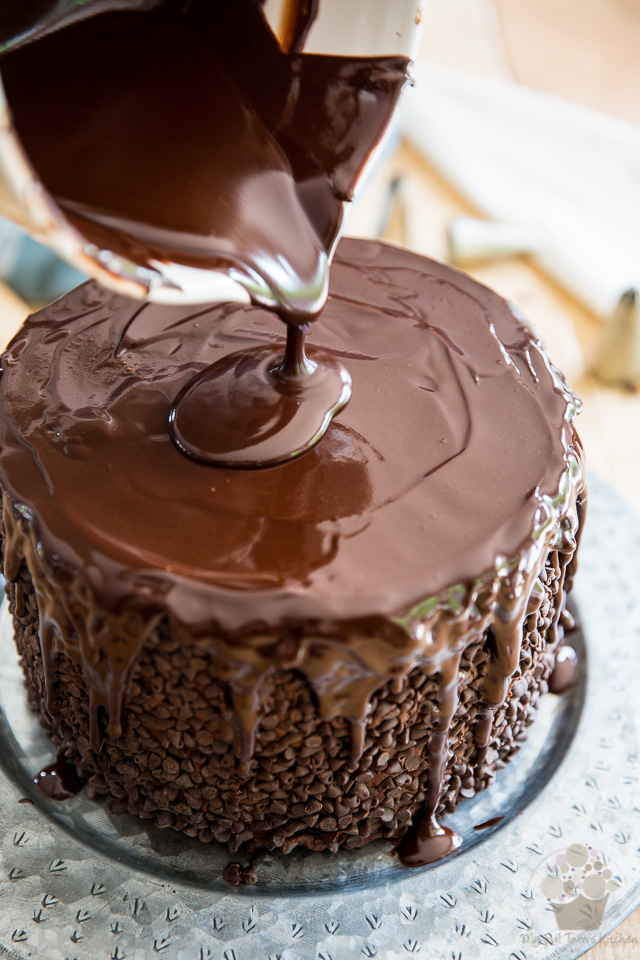
Repeat the process with the rest of the ganache, using about the same amount each time.

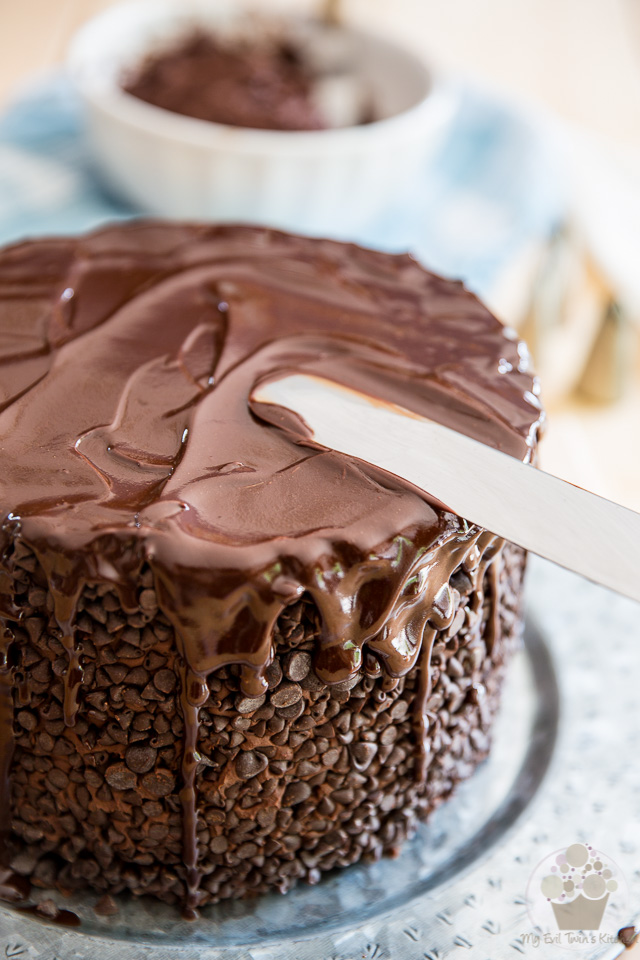
You should need to make 4 to 5 passes total…

The reason why you don’t want to pour the ganache all at once is because the coldness of the cake will make each new coat of ganache set over the previous one, allowing you to send it drizzling down the side of the cake in layers, creating beautiful ripples of chocolate decadence.
Once all the ganache has been used up, send your cake to the fridge until the ganache is completely set, about 15 minutes.

Then, equip a 16-inch pastry bag with a large French star tip (I used an Ateco #868) and fill it with chocolate frosting; pipe 12 large rosettes around the top of the cake.

Next, carefully position a triangle of chocolate between each rosette, right angle facing out and leaning slightly against the rosettes, to mimic the blades of a windmill.
If you feel that the pointy extremities of the triangles are getting in the way and are sort of bunching up in the center of the cake, don’t hesitate to trim them off.

Pipe a final rosette in the center of the cake and then garnish it with a handful of mini-chocolate chips, if desired.
Now take a step back and admire this beautiful piece of art that you just created. Shame you’ll have to slice it up eventually, ain’t it?
You should store the finished cake in the refrigerator, but it’s preferable to serve it at room temperature. As such, you should take it out of the fridge 2 to 4 hours prior to serving. Individual slices will get back to room temperature much faster, though…
Any eventual leftovers will keep in the fridge for up to 10 days, providing that you keep them in an airtight container.


